Nothing makes human beings nervous like running out of time. That knowledge was the underlying motivation for creating the Countdown Timer widget.
A countdown timer is useful for getting people to sign up for an event or promote a limited time only sale. It is not useful for getting people to sign up for your newsletter, because you want that to be accessible to people all the time. An event is a limited-time-only event, but subscriptions are forever.
So, let’s make a countdown timer widget for one of those situations. We’ll use an upcoming webinar as an example.
To start, log onto your account, and choose the website you want to apply your timer to. Next, click “Create Notification”, and choose the Countdown Timer widget template. Make sure to give it a name, and then click “Create”.
Best Setting Practices for Coupon Code Widgets
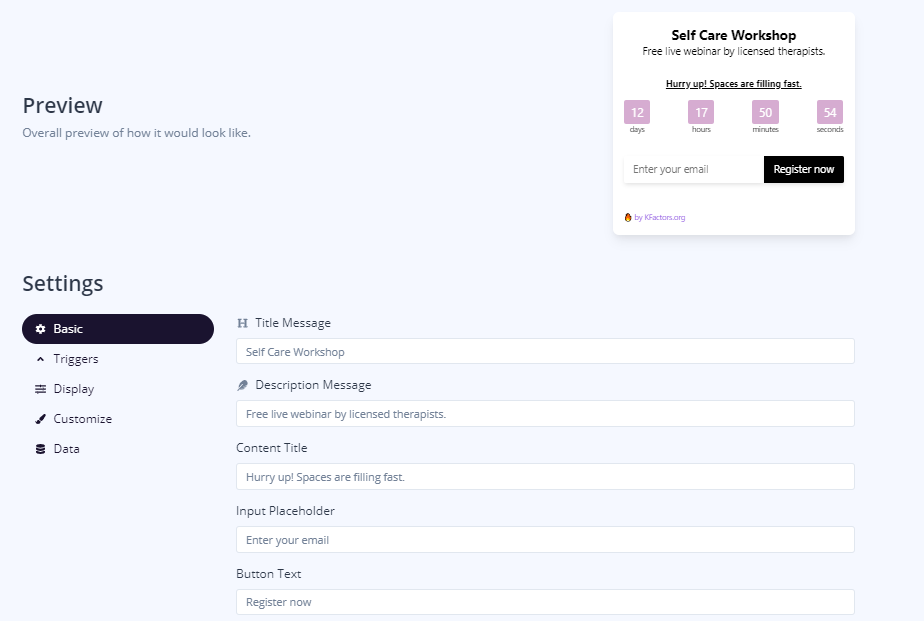
Of course, your title message should be short and sweet, and consistent across all platforms. For example, in this instance I am calling this a “self care workshop”. But if I call it a “skills workshop” on my social media platforms, or even elsewhere on my site, it can be confusing.
Your description message should also be short, and should use recognizable words like “webinar”, “event”, or “sale”. It tells your users exactly what they’ll be getting. An “interactive experience” isn’t very descriptive. The description message will always be on one line, and the more words you have, the longer the countdown timer becomes. So, unless you want a large countdown timer, keep your description short. (The timer was designed like this to help you keep it short.)
Your content title should convey urgency. Phrases like “filling fast”, “ending soon”, or “limited time only” are recognizable phrases to help move your users.
Your placeholders and button text should be pretty obvious: Tell the user how to sign up or get to the sale.
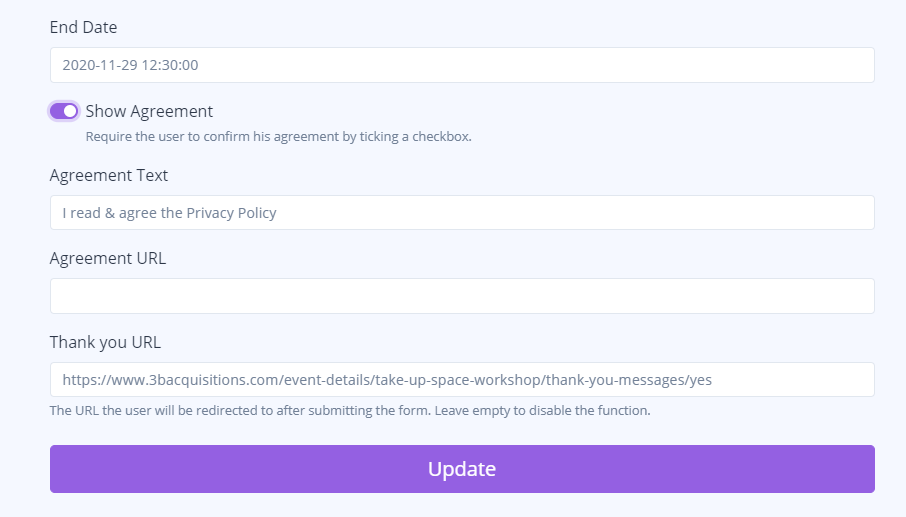
Further down the basic settings page is the end date, user agreement, and a thank you URL. Your sale obviously has to end, so pick a date. The timer will automatically start counting down as soon as you make your timer live on your website.
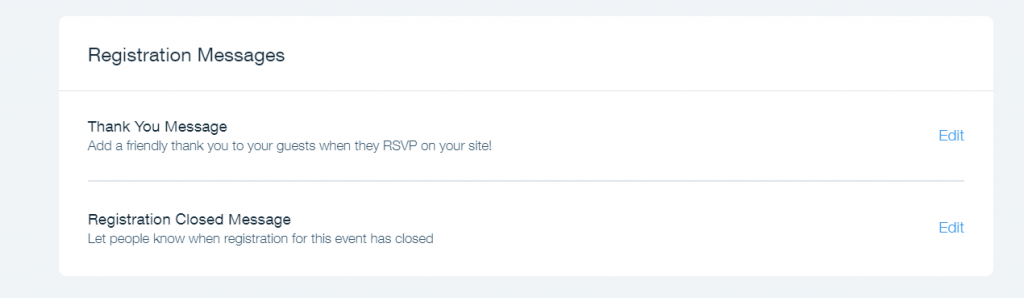
If you have made an agreement URL, stick it in. Many web builders give you the option in their “Edit Event” option to add this, as well as a custom Thank You message, like this one on Wix.
The web builder will then create a page for you, with all the parameters you’ve specified:
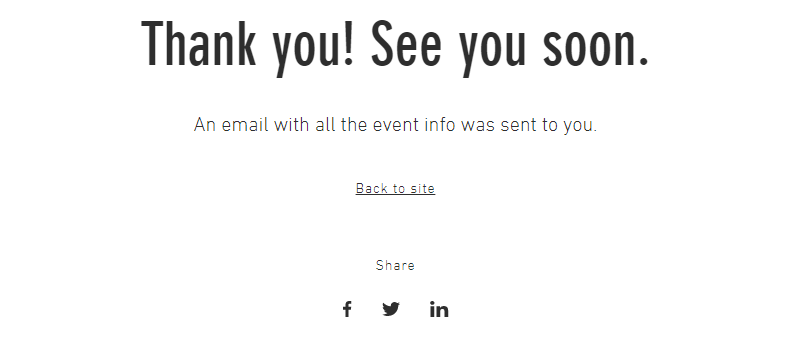
That page has a URL. Copy it, and paste it into the Thank You URL box in your Basic Settings for your timer.
Your triggers and displays specify when your user sees your timer, for how long, and what pages they show up on.
Your customization options let you change the colors of buttons, text, and your background. Here you can place your branded colors. Just make sure all the text is readable.
Make sure your widget is switched to “Active”, and there you have it — a live countdown timer.

If your countdown timer is for a sale, you might want to create a coupon, too. Click here to learn how.