Alright, you’ve made it to the end of the (relatively short) installation process. Now let’s get on to the good part: adding widget notifications.
First, log onto your K Factors account. Your Dashboard will have a list of websites you’ve added K Factors to. Choose the one you want to work on.
Click the “Create Notification” button on the right hand side.
You’ll be directed to the entire menu of widget types you can choose from. K Factors does not limit which ones you can use, no matter your plan. Choose the notification type you want to use.
For example’s sake, I’ll create a new CTA pop-up.
At the top of the screen, fill out the box asking for the name of your new widget notification. Fill that out.
Then click on the Create button at the bottom of the page.
You’ll be taken to the customization page, where you can specify all the details about the look, message, and timing for your widgets. There are four different parameters you can customize as you like.
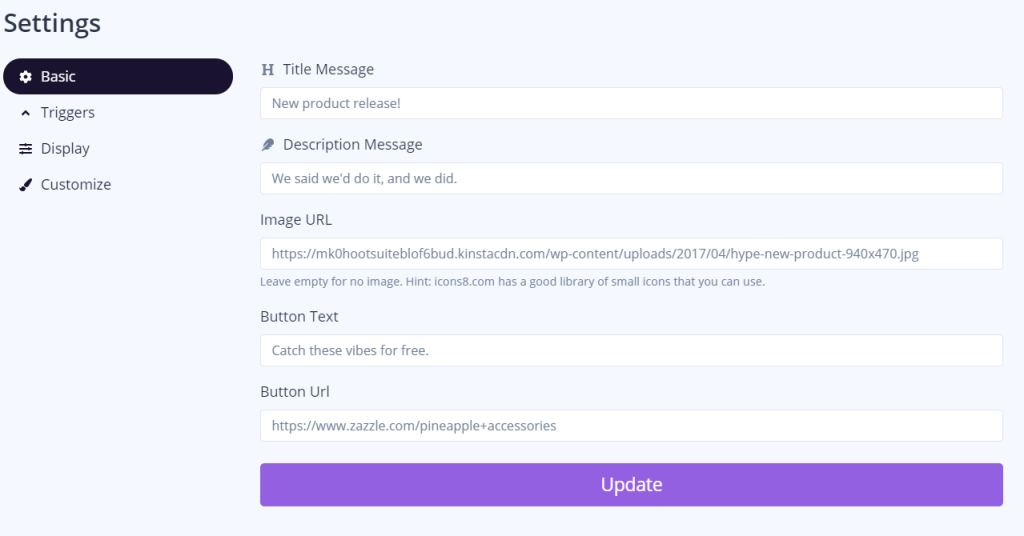
Basic Settings
The parameters of your notification settings will vary depending on the type of notification you put out, but all of them have the same basic setup. Add in a title message that your users will see, then a description detailing whatever it is you want them to know. Fill in any other relevant text fields.
You can choose whether or not to add an image to your notification, but if you decide to, it has to be an online link that ends in .png or .jpeg. If you’re using an image that you found online, you can click “Open image in new tab”, and copy that. You can also use a free image hosting site to upload your own images and generate URLs for them. We here at K Factors also recommend using icons8.com to source free, clean, simple icons. (No, I’m not being paid to say that.)
Trigger Settings
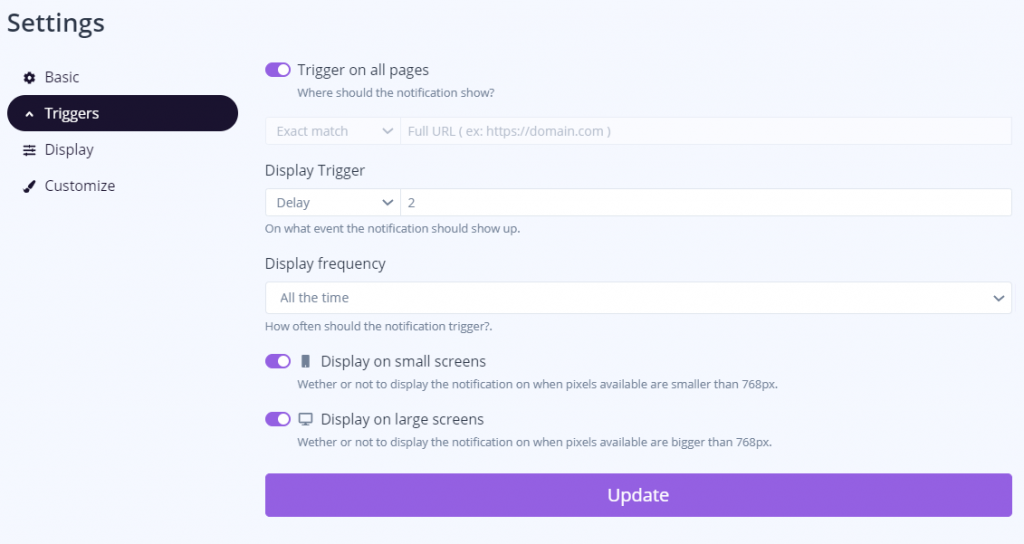
Trigger settings are all about timing: when your notification pops up, how long it hangs around on a page, which pages they show up on, and who sees them. You have a lot of decisions to make here.
K Factors notifications are fully mobile responsive, so I would suggest showing your new notification on small and large screens (where relevant, and not too many on small screens).
If you only want notifications available on some pages, toggle “Trigger on all pages” off, and you can add exact subdomain names you want notifications to pop up. The Pixel will find those pages and display your exciting news with your users.
Display Settings
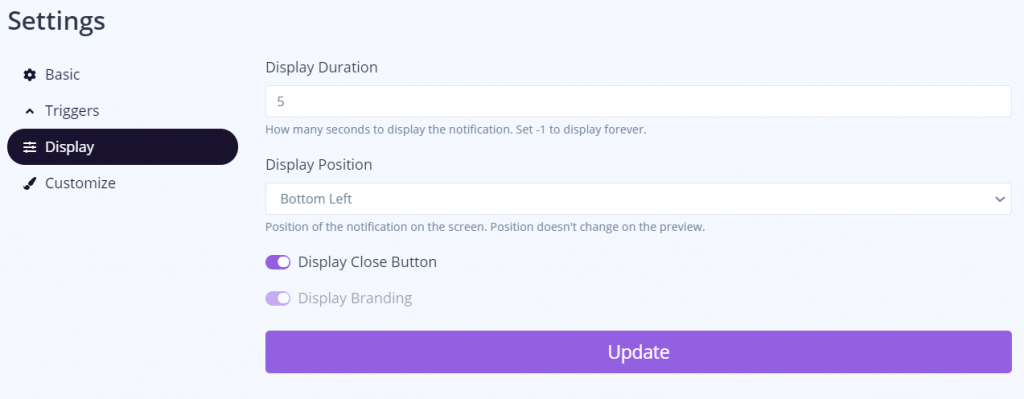
Displays are about time, and also, they’re about space. If you want notifications to just live on your pages for an entire session, enter -1. Otherwise, choose your time duration. (In the last settings category, you should’ve also chosen the delay for your pop-ups to show up.) And finally, choose where your notification is going to go, and whether your users can close them or not.
Note: If you are signed up for the Free plan, you cannot remove the K Factors branding on your display.
Customization Settings
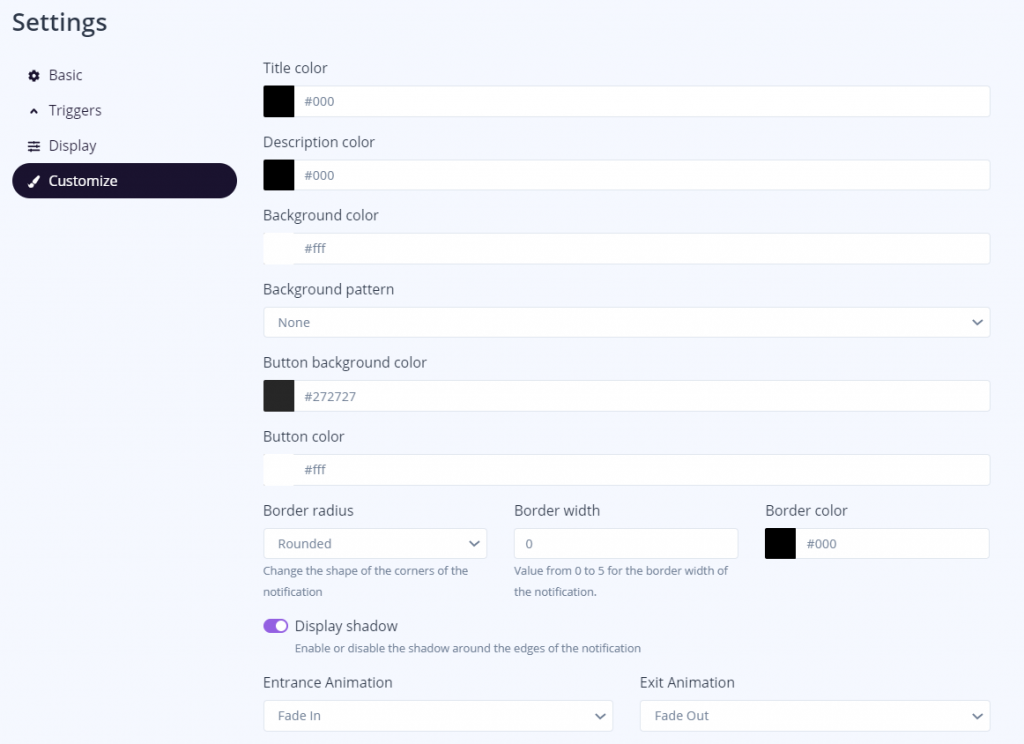
These settings are mainly for your own branding: brand colors, fonts, etc. So, go for it.
You can continue previewing how your notification looks on the top of the screen (as you’ve probably noticed).
Once you’re satisfied, click Update.
Here’s how mine turned out, just for example’s sake.
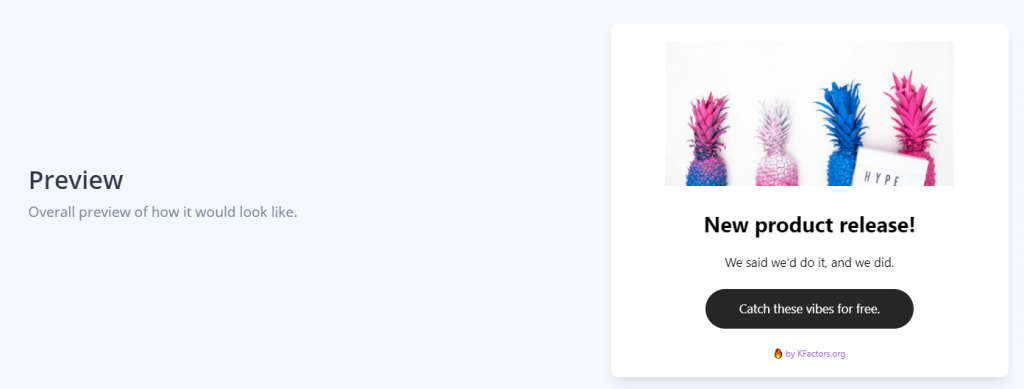
I definitely don’t own anything pineapple related, and I have no idea where the inspiration came from. But the most sensible place my “free” button would send customers would be some page of a pineapple accessories site.
Note: Making sure your notifications are live.
Clicking “Update” does not immediately post your notifications to your website.
You have to change the status to Active for each of the widgets you want to be displayed on your site. You also should double-check to make sure your website itself is set to Active. The toggle button should be right next to your campaign name.
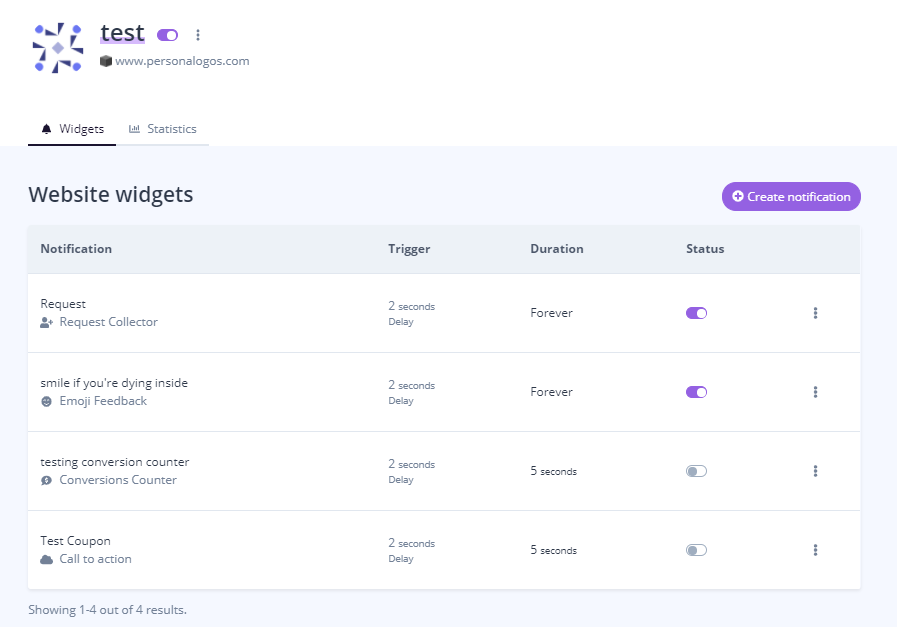
Now all you have to do is go see your notification live.
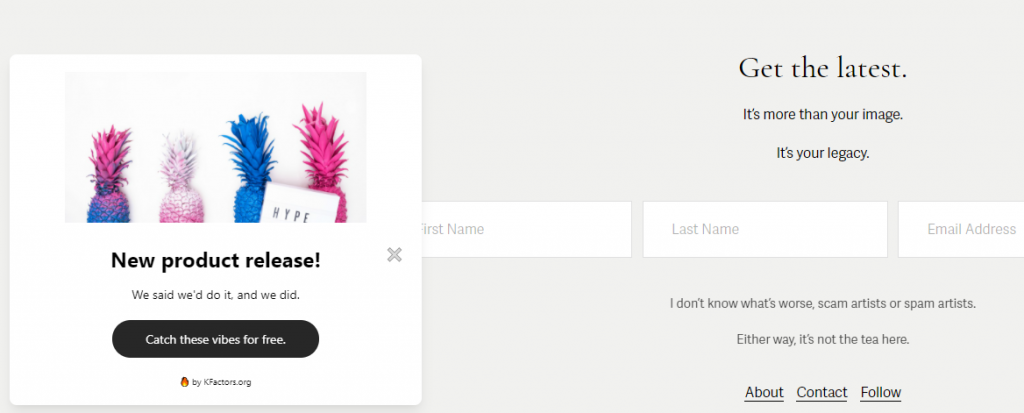
This is just for example, I’m not going to start selling pineapple based apparel.
‘Setting up notification is easy, fast, and you can be a graphic designer (I say that very loosely) for a couple of minutes.